

What you will make
A finished image built in layers, with your own text, a clean cut out and a rough mockup turned into a polished design, exported as a PNG or JPG.
You need
- 1.A computer with a wide browser window. Layer Studio is not on phones yet
- 2.A picture to edit, or an idea to sketch on a blank canvas
- 3.Credits only for the AI tools, like Remove background and Render sketch. Everything else is free
1. Open Layer Studio on a computer
Layer Studio runs on desktop only for now. On a phone, or in a browser window narrower than a desktop screen, you see a Coming soon on mobile notice instead of the editor.
- Open Layer Studio on a computer, in a wide browser window.
- At the top of the start panel, pick Blank canvas or From an image.
- To pick up earlier work, click it under Your separations. Blank canvases are listed there too.
Choose a Canvas size, 1:1, 4:5, 3:4, 9:16 or 16:9, and a Background of White, Black or Transparent, then click Open blank canvas. It is free, and you build the picture up with images, text and brush strokes.
Tip: The Background is a layer too, at the bottom of the stack. Hide it, move it or paint on it with the same controls as any other layer.
Layer Studio
Split an image into editable layers, or start from a blank canvas
From an imageBlank canvasChoose the image to separateJPG, PNG or WebPThe model finds every major element and splits them for you.
1.5KSeparate into layers- From an image: choose a photo and it is split into layers.
- Blank canvas: pick a size and a background, then build it up yourself.
- The price shows on the button before you start.
On a phone you see this notice instead. Layer Studio runs on a computer for now.
How Layer Studio works
Choose an image on the left and separate it. Every job you run shows up here.
- 1
Add an image
Drop a photo, product shot or design on the left.
- 2
Split it into layers
The model finds every major element and puts each one on its own layer.
- 3
Edit each layer
Move, resize, recolor or replace any part without touching the rest.
2. Find your way around the tool rail
The rail on the left holds the tools, the panel on the right holds Layers with Properties under it, and Add an image and Export sit above the canvas. Hover any tool to see its name, what it does and its key.
- From the top of the rail: Back to the studio, Fullscreen, Undo and Redo.
- Then the tools: Select and Hand, the selections, Crop, Text, Erase and Magic eraser, Restore and Heal, Brush and Gradient. Tools that share a slot open with a press and hold or a right click.
- Under them are Generate an asset, Render sketch and Separate an image, which spend credits. Complete, Restyle and Remove background spend credits too, from the element bar along the bottom of the canvas.
Tip: Most tools have one key: V Select, H Hand, M Rectangular selection, Shift+M Ellipse selection, L Lasso, C Crop, T Text, E Erase, Shift+E Restore, J Heal, B Brush and G Gradient. Hold Space to pan from any tool. The keyboard button at the bottom of the rail lists them all.
Back, fullscreen, undo and redoSelect and HandRectangle, ellipse and lasso selectionsCrop, or expand the canvasTextErase and Magic eraserRestore and HealBrushGradientGenerate an assetUses creditsRender sketchUses creditsSeparate an imageUses creditsKeyboard shortcuts- Back, fullscreen, undo and redo
- Select and Hand
- Rectangle, ellipse and lasso selections
- Crop, or expand the canvas
- Text
- Erase and Magic eraser
- Restore and Heal
- Brush
- Gradient
- Generate an assetUses credits
- Render sketchUses credits
- Separate an imageUses credits
- Keyboard shortcuts
- These three spend credits. Each one shows its price before it runs.
- A small corner mark means more tools share that slot. Press and hold, or right-click, to pick another.
Rest the pointer on any tool to see what it does, and its key when it has one.
3. Select, move, edit and delete layers
Every picture, text and brush stroke is its own layer in the Layers panel. Click one on the canvas or in the list, then drag it to move it or pull its handles to scale and rotate it.
- Shift click rows to select a range, Ctrl click (Cmd on a Mac) to add one more, or press Ctrl+A to select every layer.
- In a row, the eye hides or shows the layer. Double-click the name to rename it, drag the row to reorder, and use the lock above the list to protect the selected layers.
- Press Delete, or click the bin above the list, to delete the selected layers. Ctrl+Z brings them back, Ctrl+Shift+Z redoes.
Tip: Ctrl+J duplicates the selected layers. Ctrl+D deselects here, it does not duplicate. The arrow keys nudge a layer by 1px, and Shift with an arrow by 10px.
Fresh roastCoffee mug Layer 2
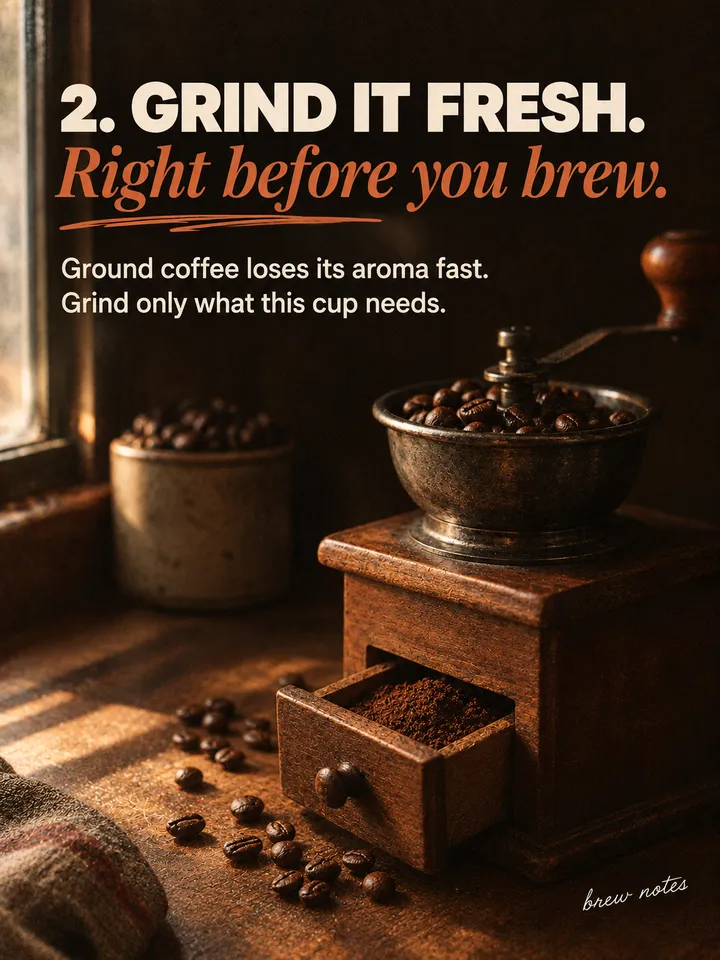 Background
- Click a row to select a layer. Ctrl+click (Cmd on Mac) adds or removes one, Shift+click selects everything in between.
- Double-click a layer's name to rename it.
- The eye hides a layer or shows it again. Hidden layers stay in the list.
- Drag a row up or down to change what sits on top.
- Lock keeps the selected layers from being picked or moved on the canvas. A locked row shows a red lock, click it to unlock.
- The bin deletes the selected layers. The Delete key does the same.
- With two or more layers selected, Merge joins them into one image (Ctrl+E, Cmd+E on Mac).
- The bar under the canvas flips the selected layer or resets it.
- With the Select tool (V), drag a layer on the canvas to move it. Arrow keys nudge it 1px, Shift+arrow 10px.
- Deleted or merged by mistake? Ctrl+Z (Cmd+Z on Mac) brings it back, Ctrl+Shift+Z redoes.
4. Add text and a text gradient
Text is a layer you can edit at any time. A gradient drawn while the text layer is selected is clipped to it, so the colour ramp fills only the letters.
- Press T, click where the words go and type. Double-click the text layer later to change the words.
- Set the Font, Size, Colour, alignment, Bold, Italic and Uppercase in the bar under the text. Weight, Tracking, Leading, Outline and Shadow are in Properties.
- Press Esc to finish typing, keep the text layer selected, then press G and drag across the letters. Pick a preset, Linear or Radial, and the colours in the gradient bar.
Tip: The gradient is its own layer, clipped to the text, so the words stay editable. Alt click the gradient's row to release it from the text.
GradientFRESHBackground- Pick Text (T) in the tool rail, click the canvas and type your words. Press Esc when you are done, the text stays selected.
- While the text is selected, the bar under it sets the font, size, colour, alignment, bold, italic and uppercase.
- With the text still selected, pick Gradient (G) and drag across the letters. You can also click where the ramp starts, then click where it ends.
- While the Gradient tool is in hand, the bar under the ramp swaps the colour ramp, switches between Linear and Radial, adds a stop or reverses the colours.
- The gradient arrives as its own layer, clipped to your text, so it only paints inside the letters. Its row steps in with an arrow.
- A gradient clips to the layer right under it. If the text is not the top layer, drag the gradient row to sit just above it. Alt+click a row to clip or release it.
- With nothing selected, the gradient covers the whole canvas instead.
5. Remove a background: one click, or free by hand
Remove background cuts the selected element out in one click and spends credits, with the price shown on the button. Magic eraser, Erase, the selection tools and Restore do the same job by hand, for free.
Select one visible, unlocked image layer and click Remove background in the element bar along the bottom of the canvas. The cut out arrives as a new version, and the earlier one stays under Versions in Properties.
Tip: If the element bar is hidden, press Enter to show it again. Remove background is not offered on the Background layer.
With AI, uses credits
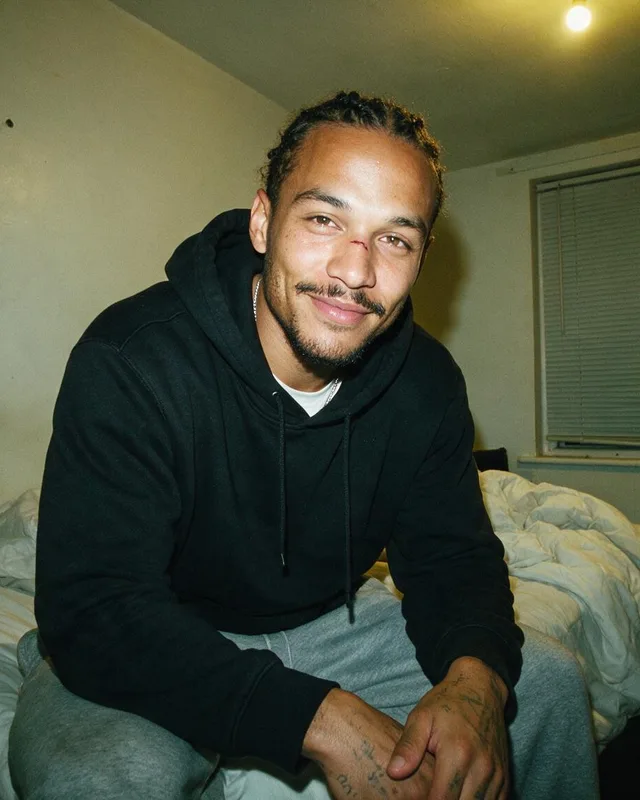
Select an image layer and click Remove background in the bar under it. The price shows on the button in the studio. The cut out is added as a new version of the layer.
Free, by hand
EraseE Magic eraser LassoLDel RestoreShiftE Erase paints parts of a layer away. Magic eraser takes one colour off the whole layer in a click. Draw a lasso or another selection and press Delete to clear the pixels inside it. Restore paints erased pixels back.
6. Heal what should not be there
Paint over a spot, a crease or a stray object and Heal fills it in from what is around it. It runs in your browser, so it spends no credits.
- Select the layer to fix, then press J, or pick Heal from the slot it shares with Restore.
- Set the brush Size in Properties, or press [ and ] to change it, then paint over the spot.
- Paint again to refine. Each heal replaces the last Healed version, and the untouched original stays first under Versions.
Tip: Restore and Heal fix different problems. Restore brings back pixels you erased, Heal fills in what should have been there. Only the selected layer is healed, so the others stay untouched.
HealJ Paint over what should not be there and it fills itself in.
RestoreShiftE Paint erased pixels back.
Both run in your browser and cost no credits.
7. Crop, blend and adjust
Finish the picture with Crop, the blend mode and opacity above the layer list, and the Adjustments in Properties. All of them are free.
- Press C and drag the frame in to cut, or out to add room around the picture, then click Apply. With an image layer selected, Crop cuts that layer instead of the canvas.
- Above the layer list, set the Blend mode, like Multiply, Screen or Overlay, and the Opacity of the selected layers.
- In Adjustments, move Brightness, Contrast, Saturation or Hue. With a layer selected it changes that layer. With nothing selected it adds an Adjustment layer that changes everything under it.
Tip: Double-click an adjustment slider to reset it. Flip horizontally, Flip vertically and Reset layer sit in the element bar along the bottom of the canvas.
Crop and expand
CropC Drag the frame in to cut the canvas, out to make room around it.
Blend mode and opacity
Sixteen blend modes and an opacity field at the top of the layers panel. They apply to every selected layer.
Adjustments
Colour
Adjustments
BrightnessContrastSaturationHueBrightness, contrast, saturation and hue. They never change the picture itself. With nothing selected, moving a slider adds an adjustment layer that regrades everything beneath it.
8. Sketch a mockup, then Render sketch
Block the idea out roughly with brush strokes, pasted pictures, generated assets and your headline. Render sketch remakes everything visible as one finished image with GPT Image 2.5, keeping the layout and the words and turning brush strokes into the real thing, like grass or water.
- Block out a rough layout: click New layer and paint with the Brush (B), paste pictures with Ctrl+V, and add objects with Generate an asset.
- Select every layer with Ctrl+A and copy them with Ctrl+J. The copies land on top, still selected, so merge the copies into one layer with Ctrl+E or the Merge button in the Layers panel.
- Click Render sketch in the rail, add a note if you like, such as autumn light, warm tones, then click Render. The price shows on the Render button.
Tip: Merge replaces the layers it merges, which is why you merge the copies: your originals stay separate and editable underneath. The result lands on top as Rendered sketch, the sketch layers are hidden, not deleted, and one Ctrl+Z brings them back.
- 1
Block out a rough layout
Brush strokes on a new layer, a pasted image and a line of text. Rough is fine.
Sunday in the parkLayer 2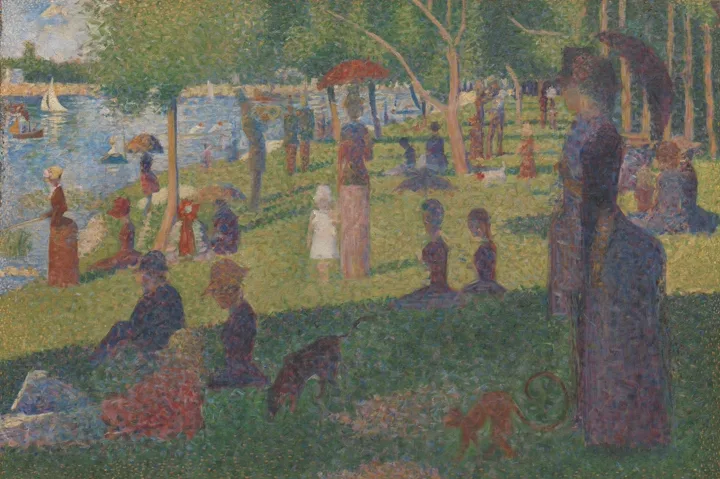 Layer 1

- 2
Select every layer
Every row lights up in the layer list.
Ctrl+ASelect all layersSunday in the parkLayer 2Layer 1 - 3
Copy them
The copies land on top, in the same place, and stay selected.
Ctrl+JDuplicate layerSunday in the parkLayer 5Layer 4Sunday in the parkLayer 2Layer 1 - 4
Merge the copies into one layer
Use the merge button in the layers panel, or the shortcut. The originals stay below, still editable.
Ctrl+EMerge the selected layersMerge 3Layer 7 Sunday in the parkLayer 2Layer 1
- 5
Click Render sketch
Add an optional note, then press Render. Everything visible on the canvas is rendered, the finished image lands on top, and the sketch layers are hidden.
Render sketch
Turns the canvas into one finished image. Layout and text stay.
The price shows on the Render button.Render sketchTurns your rough layout into one finished image. Layout and text stay, everything else is remade.
After the render
Rendered sketch Layer 7Sunday in the parkLayer 2Layer 1
9. Save and export
Layer Studio saves your canvas by itself a moment after every change. A spinning icon next to Export means it is saving, and Not saved means the last save failed.
- Click Export above the canvas.
- Pick Download PNG or Download JPG for a file, or Save to your assets to keep it in Kubeez. In a team, pick Save to my assets or Save to team assets.
- To download one layer on its own, right-click its row and pick Download as PNG or Download as JPG.
Tip: Your canvas stays under Your separations on the Layer Studio start page, so you can open it again and keep editing.
Avoid these
- Opening Layer Studio on a phone or in a narrow window. It runs on desktop only for now.
- Painting with no layer selected. Brush, Erase and Restore work on the selected image layer, so click the layer first.
- Pressing Ctrl+D to duplicate. Here it deselects. Duplicate is Ctrl+J.
- Pressing Ctrl+J while an area is still drawn. It lifts that area onto its own layer instead of copying the layers. Press Esc first.
- Pressing Delete while an area is still selected and expecting the layer to go. With an area drawn, Delete clears only the pixels inside it. Press Esc first.
- Paying for Remove background on a flat, single colour background. Magic eraser clears that for free in one click.
- Merging your only copy of a text layer. Merged layers become one picture and the text is no longer editable. Copy with Ctrl+J before you merge.
- Hiding a layer you want in the render. Render sketch only uses what is visible on the canvas.
- Expecting Render sketch to keep your font. It keeps the words and the layout, and designs new lettering that fits the image.
Layer Studio questions
Not yet. Layer Studio runs on desktop only for now, and a phone shows a Coming soon on mobile notice. Open Kubeez on a computer, in a browser window wide enough for the desktop layout.
Yes. Remove background is an AI tool, and its price shows on the button before you click. Magic eraser, Erase, the selection tools and Restore remove a background by hand for free.
Select the layer, pick Magic eraser and click the background colour to clear every pixel of it. Clean up the rest with Erase, or draw around it with Lasso and press Delete. Restore paints back anything you took too far.
It turns everything visible on the canvas into one finished image. It keeps where things sit and what the text says, and turns brush strokes into the real thing they stand for, like grass or water. The result lands on top as a new layer and the sketch layers are hidden.
Select the text layer, pick Gradient and drag across the letters. The gradient lands as its own layer clipped to the text, so it fills only the letters and the words stay editable.
Only the AI tools: Remove background, Complete, Restyle, Generate an asset, Render sketch, Separate an image, Separate into layers and Generate in the bar next to a selected area. Each shows its price on the button. Heal, Erase, Magic eraser, Restore, Brush, Gradient, Text, Crop, Merge and Adjustments are free.
Yes. It saves by itself a moment after each change, and you can open the canvas again from Your separations. For a file, click Export and pick Download PNG, Download JPG or Save to your assets.
Models used
Open a guide to see what each model is best at.
Your turn
Everything in this lesson is one click away. Open the tool and make your first version now.